
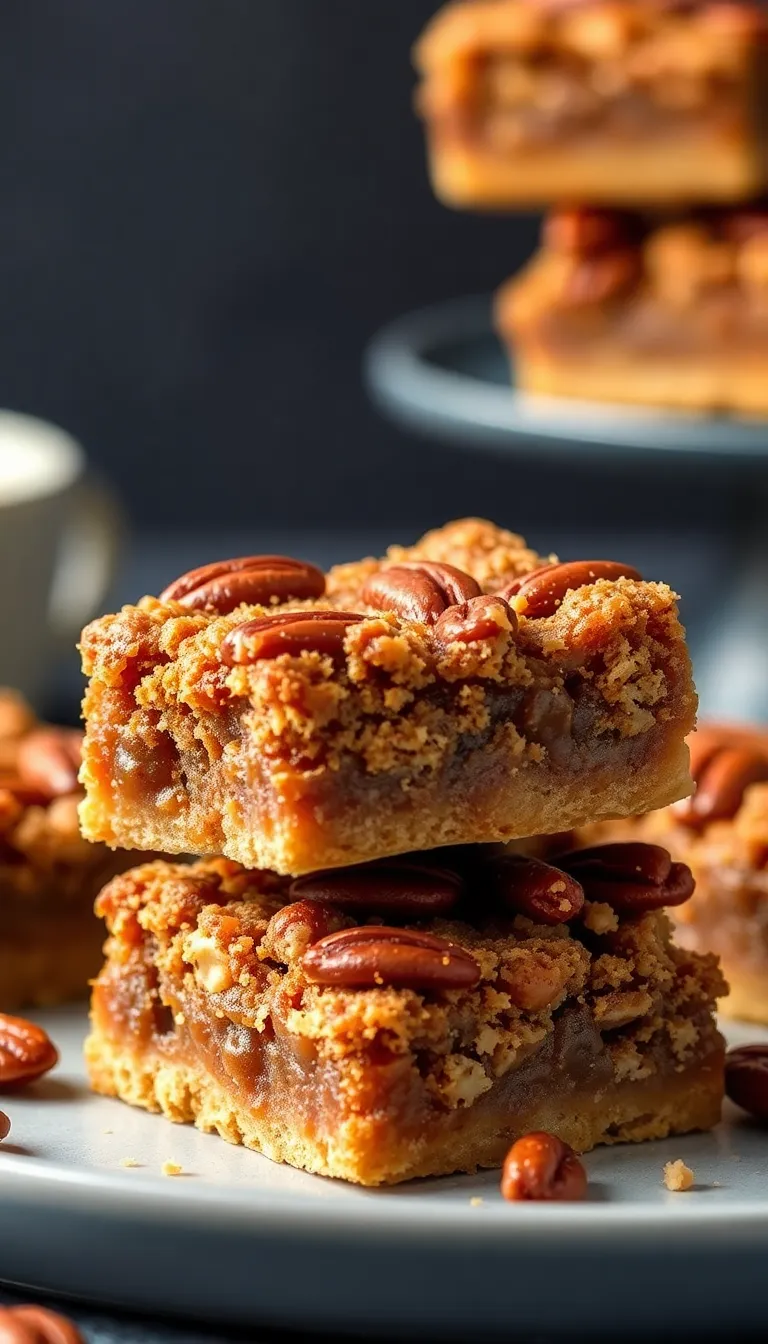
Imagine a dessert that combines the rich, nutty depth of brown butter with the gooey, caramelized goodness of pecan pie—but in bar form. No forks required, no patience needed. These Brown Butter Pecan Pie Bars are the cheat code to winning dessert tables, holiday parties, and your midnight snack cravings.
They’re buttery, crunchy, and just sweet enough to make you question why you ever settled for plain cookies. And the best part? You don’t need a pastry degree to make them.
Ready to upgrade your baking game? Let’s go.
Why This Recipe Works

These bars aren’t just good—they’re stupidly addictive. The brown butter adds a toasty, almost caramel-like flavor that elevates the pecans from “nice” to “where have you been all my life?” The crust is tender yet sturdy, so it holds up against the sticky filling without crumbling like your last attempt at a New Year’s resolution.
Plus, cutting them into bars means no messy slicing—just grab and go. Perfect for people who value efficiency (and deliciousness).
Ingredients You’ll Need
- For the crust: All-purpose flour, granulated sugar, salt, unsalted butter (browned and cooled).
- For the filling: Brown sugar, eggs, vanilla extract, maple syrup, salt, unsalted butter (browned again, because why not?), chopped pecans.
- Optional but recommended: Flaky sea salt for sprinkling on top—because fancy.
Step-by-Step Instructions
- Brown the butter for both the crust and filling. Let it cool slightly—no one wants scrambled eggs in their dessert.
- Make the crust: Mix flour, sugar, and salt, then blend in the brown butter.Press into a lined baking pan and bake until golden.
- Prep the filling: Whisk eggs, brown sugar, vanilla, maple syrup, and salt. Stir in the remaining brown butter and pecans.
- Assemble: Pour the filling over the pre-baked crust and return to the oven until the center is set.
- Cool completely before slicing. Yes, waiting is hard.No, you can’t cheat this step.
Storage Instructions
Store these bars in an airtight container at room temperature for up to 3 days. For longer storage, freeze them (layered between parchment paper) for up to 2 months. Pro tip: Microwave frozen bars for 10 seconds to revive that gooey texture.
You’re welcome.
Why You Should Make These Bars
Aside from being ridiculously tasty, these bars are versatile. Serve them at parties, pack them for picnics, or eat them straight from the pan while pretending to share. They’re also easier to transport than a whole pie—no one wants to explain why their dessert slid onto the car floor.
Plus, the brown butter makes you look like a baking pro, even if you’re just winging it.
Common Mistakes to Avoid
- Burning the butter: Brown butter goes from “nutty perfection” to “charcoal disaster” in seconds. Stir constantly and take it off the heat the moment it smells like toffee.
- Overbaking the filling: The bars should jiggle slightly in the center when you pull them out—they’ll set as they cool.
- Skipping the parchment paper: Unless you enjoy chiseling dessert out of a pan, don’t skip this step.
Ingredient Alternatives

No pecans? Swap in walnuts or hazelnuts.
Out of maple syrup? Honey or corn syrup works (though the flavor will shift slightly). For a gluten-free version, use a 1:1 GF flour blend in the crust.
And if you’re feeling extra, add a handful of chocolate chips to the filling—because chocolate makes everything better.
FAQs
Can I use pre-made crust?
Sure, if you’re okay with missing out on the brown butter magic. But honestly, the crust is easy—just do it.
Why did my filling separate?
You probably added hot butter to cold eggs. Let the butter cool slightly before mixing it in.
Can I double the recipe?
Absolutely.
Use a 9×13-inch pan and keep an eye on the baking time—it might need a few extra minutes.
Final Thoughts
These Brown Butter Pecan Pie Bars are the dessert equivalent of a mic drop. They’re simple enough for beginners but impressive enough to fool everyone into thinking you’re a baking wizard. Make them once, and you’ll be asked to bring them to every gathering for the rest of your life.
Fair warning.